Transform Your Outdoor Terrace with Microcement: A Step-by-Step Guide to a Stylish and Durable Space
Can you picture having an outdoor terrace that showcases your unique style and personality?
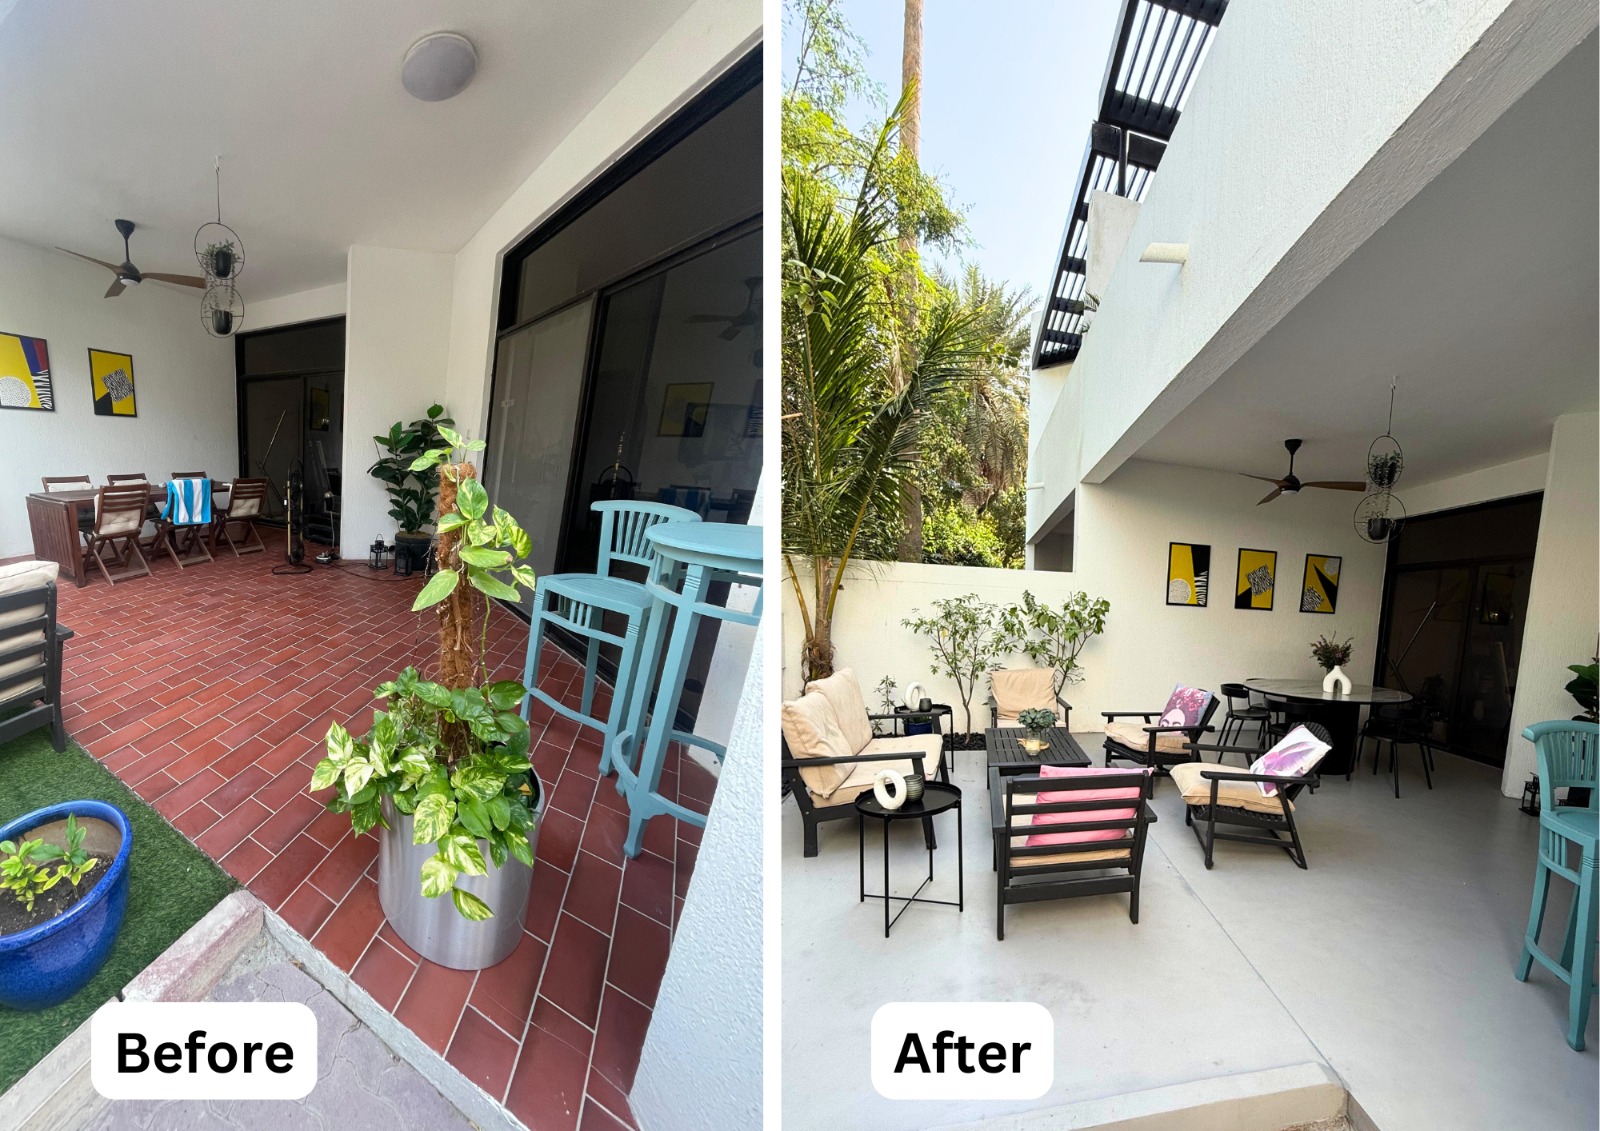
A beautiful space designed for relaxation, whether it’s soaking up the sun or having a casual meal with friends. If you are considering renovating your terrace, we recommend using microcement, a contemporary and durable material known for its exceptionally stylish appearance. An outdoor terrace featuring microcement is on the rise in popularity, leading us to dive deeper into the topic with this article.
We have discovered the benefits of microcement on outdoor terraces through its use in many residences and from the feedback provided by our clients. Following are some of the benefits of micro topping or microcementing.
Weather resistance: as previously stated, microcement is extremely durable against UV rays, rain, moisture, and temperature fluctuations.
For this reason, it is perfect for outdoor terraces, as it can endure harsh weather conditions.
Durability: microcement has a long lifespan and requires minimal maintenance over the years.
Keeping it clean: minimal effort is needed to clean microcement, and adhering to the supplier’s instructions will ensure optimal cleanliness.
In one of the previous post we talked about it, so don’t miss the complete guide on how to clean microcement according to Cementec.«
Customization: microcement offers the possibility to customize both color and finish, allowing you to achieve the outdoor terrace of your dreams.
Applying the correct microcement on the floor can result in anti-slip characteristics, making it a reliable selection for outdoor locations where walking safety is a priority.
Uncover the 7 Essential Steps for Applying Microcement on Tiles
Step #1: Evaluating the State of Current Tiles
Before starting the microcement application process, it is essential to carefully examine the condition of your current tiles.
Keep an eye out for any blemishes, such as chips, inconsistent surfaces, or tiles that are not properly fixed, as resolving these concerns is vital to creating a sturdy surface for the microcement.
Step #2 involves the cleaning and preparation of the tiles.
Ensure your tiles are prepared for the microcement application by cleaning them extensively to eradicate any residue of grease, dust, or other impurities.
Make use of the right cleaning agents and approaches to obtain a perfect surface.
It is important to provide enough time for the tiles to dry thoroughly, as proper drying is critical for ensuring the best adhesion of the microcement.
Step #3: It involves filling the tile joints and priming the surface.
Acquiring a flawless and level surface is key for the accomplishment of your microcement project.
Start by meticulously filling the tile joints to establish a flawless foundation.
Following that, use an appropriate primer that serves as a link between the tiles and the microcement, improving adhesion and guaranteeing a long-lasting outcome.
Selecting the right primer that is customized for your specific surface is crucial for achieving optimal results.
Step #4: Fiberglass Mesh and Base Layer Application
Once the primer has fully dried, reinforce the surface by incorporating a layer of fiberglass mesh.
Adding this extra layer helps protect against potential cracks and bolsters the structural integrity of the microcement coating.
Continue with the application of the initial coat of microcement base, pigment-free, to guarantee an even coverage on the entire surface.
Step #5: Put on the second coat of base microcement.
Building on the foundation created by the first base layer, apply a second layer of microcement base, this time with the pigment of your chosen hue.
Exercise precision and attention to detail to ensure a flawless and uniform application, correcting any flaws or blemishes as you go.
Step #6, the Microcement Surface should be sealed
Sealing the surface is the final step in the process of applying microcement, ensuring protection from external elements and the longevity of its appearance.
Opt for a premium sealant that works well with microcement surfaces and apply it diligently to achieve thorough coverage.
This layer of sealant improves the longevity, resilience against damage, and simplifies the upkeep of the microcement coating.
Step#7 Final adjustments and inspection are the focus of step number seven.
Perform a comprehensive examination of the microcement surface to guarantee quality and uniformity. Address all imperfections or irregularities, and complete any essential final adjustments to attain results of professional quality.
By diligently following these detailed steps, you can enhance your current tiles using the adaptable appeal of microcement, resulting in impressive and durable outcomes.
Even though we are disclosing the procedure to you, we strongly recommend seeking help from an expert similar to ours. At Good Hand Stones and Concrete Flooring, our skilled applicators guarantee a smooth renovation process, reducing typical microcement issues.